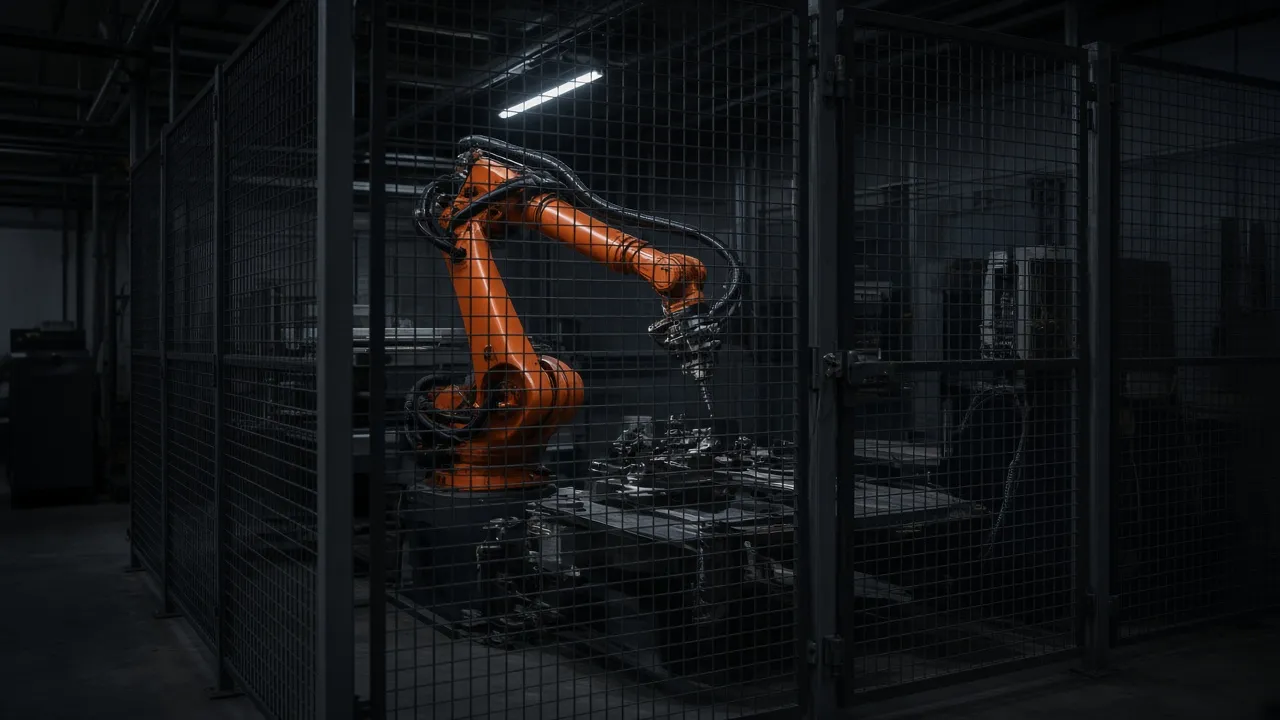
Most robot cells still need perimeter guarding, even when the robot is collaborative in some operating modes, because the full cell condition, task, tooling, speed, reach, and access points determine the real hazard. The right robot safety fencing choice is not just mesh or clear panels; it is a layout decision that balances protection, visibility, maintenance access, part loading, and safe entry under OSHA 29 CFR 1910.212, ANSI/A3 R15.06, and the applicable ISO standards.
For many U.S. plants, the real question is not whether a robot is called collaborative. It is whether anyone can enter the hazardous space during normal operation, setup, troubleshooting, or recovery. If the answer is yes, the cell needs a documented risk assessment and a safeguarding strategy that fits the application—not a generic fence detail copied from the last project.
When a robot cell needs fencing, and when collaboration changes the answer
A collaborative robot can reduce some hazards in some modes, but it does not erase the need for perimeter guarding when the application still exposes people to motion, pinch points, tooling hazards, or ejected parts. Mixed-mode cells are common: a robot may run with limited speed and force during one phase, then switch to faster or more energetic operation in another. In those cases, the safeguarding concept has to cover the full operating envelope, not just the collaborative mode.
The practical decision point is simple: if a person could reach the hazardous area, enter it, or be exposed through an opening, design the perimeter as a safeguarding system. That system may include fencing, interlocked gates, protected openings, presence-sensing devices, safe distance calculations, and control functions that support safe stop and restart. Check the current edition of the applicable standards for the exact application, and use a qualified person to document the risk assessment.
For a broader view of how robot perimeters are configured, see Robot Cell Guarding and the related Machine Safety guide for fence positioning, openings, and reach-distance basics.
The three main guarding choices: mesh, sheet metal, and polycarbonate
Most layouts use one primary panel type, then mix in another where the process changes. The right choice depends on what the cell must contain, what the operator must see, and how often maintenance or changeover access is required.
Wire mesh panels
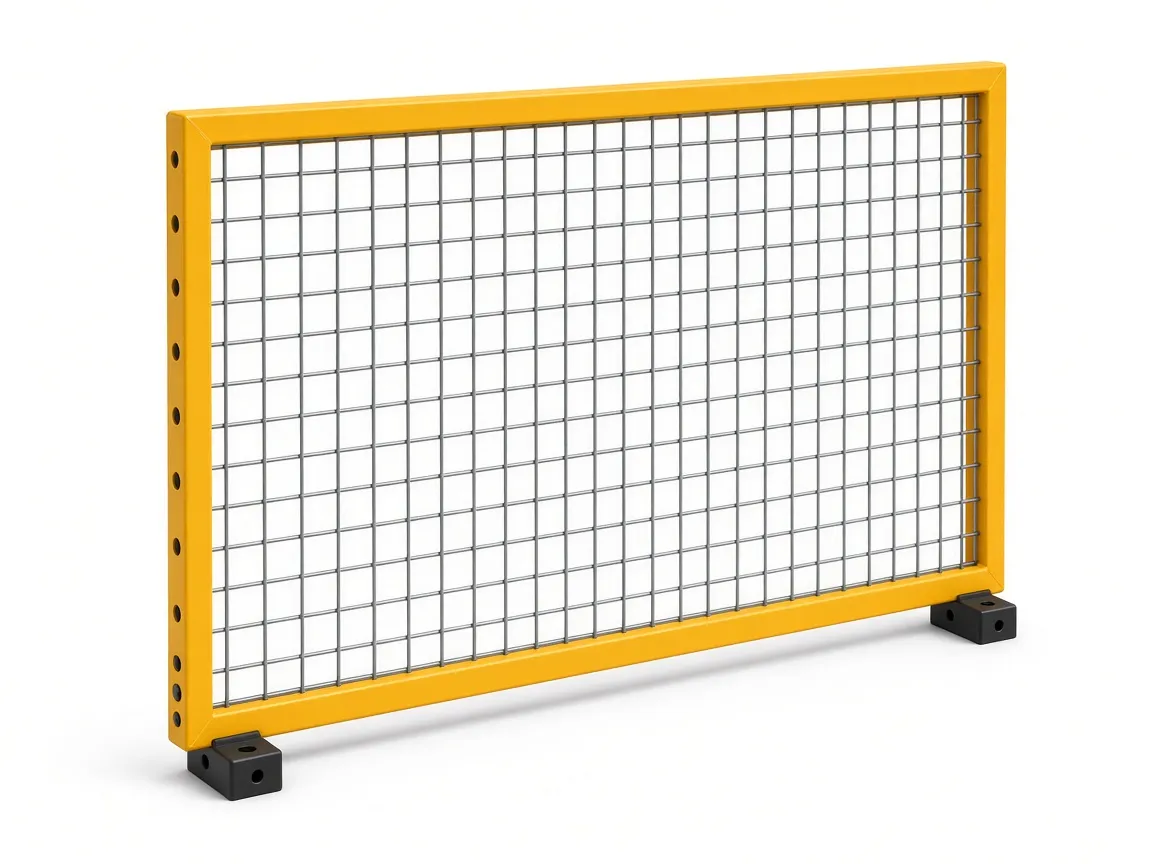
Wire mesh is the most common perimeter choice when visibility, air flow, and general-purpose guarding matter. It is a strong fit for robot cells where operators and technicians need to observe motion, tooling position, part flow, or faults from outside the hazard zone. Mesh is often the best default when the process does not create significant flash, splash, or chip throw. For modular examples, see Wire Mesh Panels (D Series).
The trade-off is containment. Mesh is not the best choice when the process throws hot particles, heavy spatter, chips, coolant, or other debris that should stay inside the cell. In those cases, a mesh-only perimeter may improve visibility but reduce protection for adjacent work areas.
Sheet metal panels
Sheet metal panels are best when the cell needs stronger containment of weld flash, spatter, smoke, chips, or noise. They are common in robotic welding and in some material-handling applications where a solid barrier improves protection for nearby workers and equipment. The downside is reduced visibility, so solid-panel cells often need planned inspection points, cameras, windows, or alternate observation zones. See Sheet Metal Panels (SM Series) and Welding Cell Guarding for layouts that use solid panels where containment matters most.
Polycarbonate panels
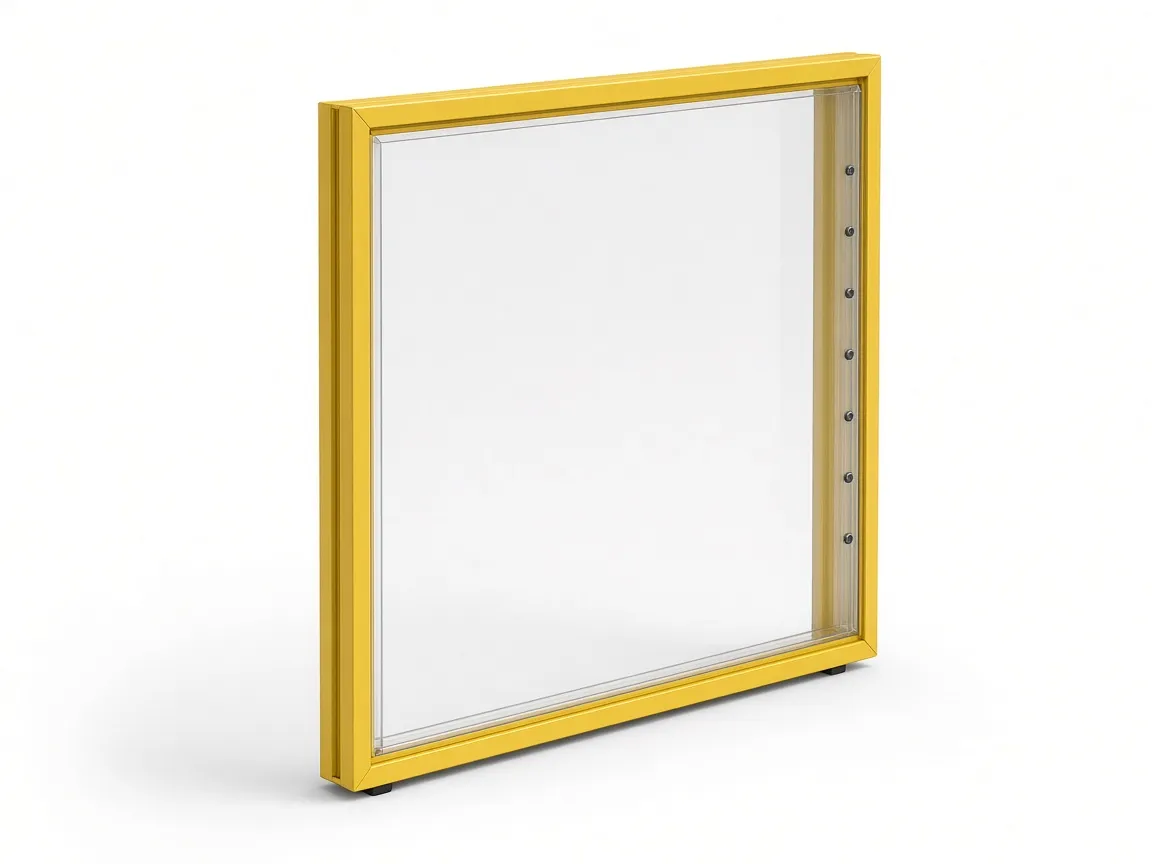
Polycarbonate panels are useful when the process must stay visible while still containing chips, coolant, and small parts. They are common in robotic machine tending and CNC applications where the operator needs to see the machine interface, tool condition, or part flow without opening the perimeter. The trade-off is maintenance: clear panels can scratch more easily than mesh or metal and may need more careful cleaning. For transparent guarding options, see Polycarbonate Panels (PC Series) and CNC Machine Guarding.
Visibility vs. containment: how to make the trade-off
A useful way to think about panel selection is to ask what failure would be worse: poor visibility or poor containment. If operators need to see the process to confirm part flow, diagnose faults, or check robot position, mesh or polycarbonate may be the better choice. If the primary risk is flash, spatter, chips, or splash leaving the cell, solid sheet metal becomes more attractive.
| Panel Type | Best Used For | Visibility | Containment |
|---|---|---|---|
| Wire Mesh | General robot perimeters, palletizing, material handling | High | Good for line of sight, but not suited for flash or debris containment |
| Sheet Metal | Welding cells, heavy debris zones, high-spatter areas | Low unless windows are added | Generally better for blocking flash, spatter, and debris |
| Polycarbonate | CNC tending, high-speed assembly, chip-heavy zones | High | Generally suitable for chips, coolant, and small parts while keeping the process visible |
Rule of thumb: choose mesh when observation is the priority, choose sheet metal when containment is the priority, and choose polycarbonate when you need both visibility and process containment.
Many successful installations use a hybrid layout. A robotic machining cell might use polycarbonate at the machine interface to contain chips and coolant, mesh on the outer perimeter to preserve visibility, and a solid section near a high-energy process zone. A welding cell may use sheet metal near the arc and mesh farther away where only supervision is needed. The point is not to force one panel type across the entire perimeter; it is to place the right material where the risk actually is.
For broader application planning, review Machine guarding solutions for robot cells, welding, and CNC applications and the product mix on Genmacs modular machine guarding.
How to plan access without weakening the fence
The most common design failures in robot cells happen at openings, not in the field panels. Every access point—operator loading, maintenance entry, pallet transfer, forklift access, or troubleshooting—creates a weak point unless it is deliberately designed and verified.
Keep each opening as small as practical for the task. Oversized gates and unnecessary pass-throughs increase exposure and can make the layout harder to secure. Avoid temporary openings that become permanent shortcuts. If access is needed during production, use an interlocked gate or another safeguarding device chosen from the risk assessment, and make sure the opening location supports safe approach and safe exit.
Think through each access type separately:
- Operator loading: Usually needs a predictable path, easy visibility, and a gate or safeguarded opening that supports routine cycle work.
- Maintenance access: Should support lockout/tagout, fault recovery, and room for tools or replacement parts without defeating the guard every time.
- Pallet or part transfer: Needs enough width and height for the actual part, fixture, or tote, but not more than that.
- Forklift or cart access: Requires a wide opening and careful planning so material flow does not create an unsafeguarded shortcut into the cell.
Interlocked gates should be part of the overall control strategy, not an afterthought. Where the application needs ergonomic entry, escape release, reset, or permission control, a purpose-built hardware package can simplify the design. See Safety Gates and Safety Gate Handle Set for access hardware commonly used in fenced cells.
Service access: design for maintenance without defeating safeguarding
Maintenance access is not the same as daily operator access. The design goal is to let technicians do the real work—tool changes, lubrication, sensor adjustment, fault recovery, cleaning, or robot teaching—without making them bypass the fence to save time.
That is where many installations fail. If the only way to service the cell is to leave a gate propped open, remove a panel, or rely on a loose procedure, the safeguarding concept is weak. Plan the gate width, latch type, and access path so the expected maintenance task can be completed safely and consistently. Where infrequent access is needed, make it intentional and interlocked. Where routine access is needed, design a proper operator service point rather than forcing repeated full entry into the cell.
A good layout should also account for how the cell is returned to production. Restart logic, gate reset, and authorization steps should be clear enough that maintenance staff do not improvise. That is one reason many teams include the gate hardware and reset logic in the layout review instead of treating them as separate procurement items.
Layout details that matter more than most teams expect
Post spacing, panel widths, and modular fit
Modular widths simplify installation and reduce field modification. A perimeter that is planned around the actual machine footprint and access needs usually fits better, looks cleaner, and leaves fewer dead zones than one forced to follow the building grid. Well-planned modular layouts can close the full perimeter without cutting or welding on site, which helps reduce installation time and keeps the design consistent from project to project.
Height, reach, and overhead considerations
Fence height should be selected from the hazard assessment, the robot reach envelope, and the required safety distance—not from a guess. Reach-over, reach-through, and reach-around risks all depend on the geometry of the cell, the opening size, and the location of nearby platforms or equipment. If the robot uses a long end-of-arm tool or shares space with a conveyor, stack light, or positioner, the fence geometry should reflect that reality.
Do not assume a standard height alone guarantees protection. The actual safe distance and reach control depend on the application, the opening size, and the applicable standard. If the cell includes access openings or interlocked points, verify the required distances with the current edition of the relevant standards and the project risk assessment.
Floor anchoring and housekeeping
Base plates, anchors, and floor conditions matter. A fence that is loose, uneven, or installed over poor housekeeping will not hold up well over time. Leave enough clearance for cleaning and debris removal, but do not create floor gaps that compromise the safeguard. Keep pallets, carts, and storage items out of the perimeter line so they do not block egress, e-stops, gate travel, or inspection access.
Worked examples
Example 1: Collaborative pick-and-place cell
A compact assembly cell uses a collaborative robot for repetitive pick-and-place work. The design calls for wire mesh panels around most of the perimeter to preserve visibility and air flow. A single interlocked swing gate serves setup and maintenance access. That approach works because the process is relatively clean, operators need clear sightlines, and the main hazard is unauthorized entry rather than debris containment.
Example 2: Robotic welding cell
A multi-robot welding cell requires stronger containment. Sheet metal panels enclose the high-spatter area, while mesh is used farther from the arc where visibility helps supervision. The layout includes a wide interlocked sliding gate for fixture changeover. In this case, mesh alone would improve visibility but would not contain flash and spatter effectively, so the solid panel sections are the better engineering choice.
Example 3: Robot machine tending cell
A robot tends two CNC lathes and loads parts through the front of each machine. Polycarbonate panels are used near the machine interfaces to contain chips and coolant while keeping the process visible. Mesh is used on the outer perimeter where operators need to see the cell from the aisle. A service gate with interlock and escape release supports tool inspection and cleaning. Here, solid metal everywhere would improve containment but would hide the machine state, which would make troubleshooting harder.
Example 4: Palletizing cell with forklift access
A palletizing cell needs a wide opening for pallet transfer and occasional forklift access. The perimeter uses tall mesh panels for visibility, but the transfer point is treated as a protected opening rather than a simple gap in the fence. The gate or transfer configuration is chosen around the load size, travel path, and hazard distance. For applications like this, see Palletizing Guarding and Warehouse & Material Handling Guarding.
Quick selection checklist
- Identify the robot type, payload, reach envelope, and operating modes.
- Define who needs access to the cell and how often.
- List the process hazards: weld flash, spatter, chips, coolant, dust, or noise.
- Decide whether visibility or containment is more important at each side of the perimeter.
- Map every entry point: operator, maintenance, pallet, cart, or forklift.
- Confirm whether the access point needs an interlocked gate, protected opening, or another safeguard.
- Plan maintenance access, lockout/tagout, and fault recovery without defeating the guard.
- Verify safety distances and reach control with the current standards and the project risk assessment.
- Check whether hybrid panel types would improve both safety and usability.
- Review the layout before ordering so panel widths, gates, and corners fit the real machine footprint.
Common mistakes that create weak robot fencing designs
One common error is oversizing a gate “just in case,” which creates a larger opening than the task needs and makes the perimeter less secure. Another is choosing mesh because it feels lightweight and economical, even when the process clearly needs flash or chip containment. A third mistake is covering the whole cell in solid sheet metal and then discovering that operators cannot see faults, part jams, or alignment issues without opening the guard.
Another weak practice is treating a collaborative robot as if it never needs a fence. The robot may be collaborative in one mode and still hazardous in another, especially when tooling, speed, or payload changes. Finally, some teams plan the fence first and the maintenance workflow later. That almost always leads to improvised openings, defeated interlocks, or a service routine that is slower and less safe than it should be.
What to send for a layout review or quote
If you are moving from concept to RFQ, send the basic dimensions or CAD file, the robot and process details if known, and any constraints on access, cleaning, or material flow. The most useful inputs are the machine footprint, the robot reach envelope, the load/unload method, the number and type of access points, and any special hazards such as welding flash, chips, coolant, forklifts, or pallet transfer.
A good layout review should return a guarding arrangement that shows panel mix, gate locations, and protected openings before you order. If you want help with that step, Engineering support for guarding layouts can review your layout, CAD file, or basic dimensions and return a 2D/3D guarding layout before you buy. You can also start at Request a quote.
Conclusion
Robot safety fencing is not a one-panel decision. It is a layout decision driven by hazard, visibility, access, and maintenance needs. Mesh, sheet metal, and polycarbonate each solve different problems, and the best cells often use more than one panel type. Start with the risk assessment, then place the gates, openings, and panel materials where they support the actual work. If you want a second set of eyes on the layout, send your drawing or dimensions for a guarding proposal before you order.