
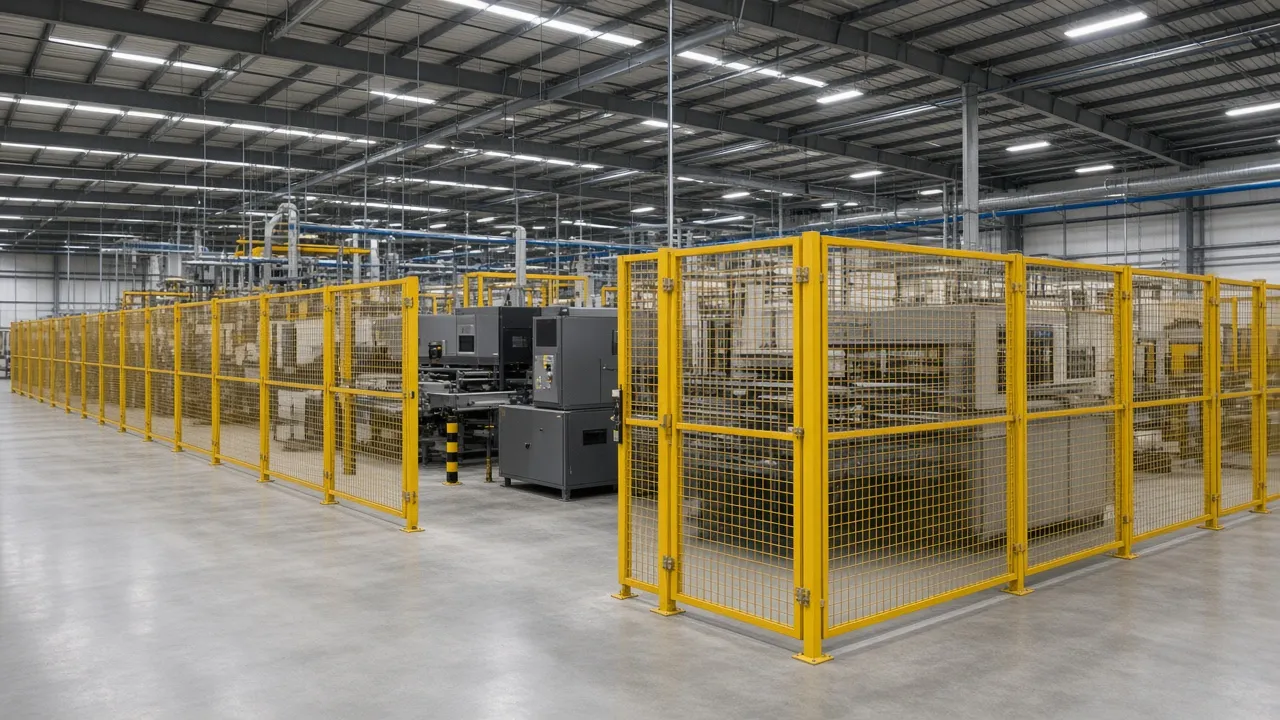
ISO 13857 safety distance tells you how far a guard or fence must sit from a hazard so a person cannot reach dangerous parts through, over, or under it. In practice, you use it to decide whether a mesh opening, fence height, bottom gap, or gate location is safe for the actual machine layout.
If you are sizing a perimeter, the real engineering question is not whether the fence looks tall enough. It is whether someone can still reach the hazard from the normal floor, from a platform, through a panel opening, around a corner, or under the bottom edge. That is why the standard has to be applied with a documented risk assessment and checked against the current edition.
For a broader view of how guard selection and placement fit together, see our Machine Safety guide on ISO 12100, 14119, 14120, 13855 and 13857.
What ISO 13857 actually helps you decide
ISO 13857 is about preventing access to hazard zones by upper and lower limbs. It gives you a way to connect guard geometry with human reach. That makes it useful for fixed guards, machine fencing, and perimeter guarding where the opening size and distance to the hazard must work together.
It does not replace the rest of the safety design process. You still need to identify hazards under ISO 12100, select and position guards under ISO 14120, and consider interlocking and control reliability where gates are used. The standard is one input to the design, not the design by itself.
When you are choosing physical components, the guard type matters too. A wire mesh panel, solid sheet metal panel, and clear polycarbonate panel all solve different problems, but the reach question is the same: can a person get to the hazard from the outside? If you need a quick overview of hardware options, see our modular machine guarding panels and safety gates.
The three layout questions ISO 13857 answers
Can someone reach through the opening?
This is the most common fence-panel issue. Mesh openings, slots, cutouts, cable pass-throughs, and gaps at panel joints can all create a reach-through path. The opening size has to be evaluated together with the distance to the hazard; a small opening close to a moving part may still be unsafe, while a larger opening may be acceptable only if the hazard is far enough away.
Do not assume that a field-cut hole for a cable is harmless because it is small. Any opening in the barrier is part of the guarding system and must be treated as a design feature, not an install convenience.
Can someone reach over the top?
Fence height alone is not enough. You have to consider where a person can stand and how far they can lean. A standard-height fence may be fine on level floor, but the result changes if there is a platform, curb, conveyor frame, pallet, or maintenance step near the perimeter. In other words, the safe height depends on the standing surface as much as the fence itself.
Can someone reach under the bottom?
The bottom gap matters more than many teams expect. A large floor clearance can allow feet, legs, or tools to pass under the guard and into the hazard zone. This is especially important near low equipment, transfer points, and uneven slabs where installers may be tempted to leave extra clearance to accommodate floor variation.
Start with the hazard location, not the fence
The most reliable way to apply ISO 13857 safety distance is to begin with the hazard itself. Mark the maximum reach of the moving parts on a plan view before you decide where the fence goes. That means mapping robot envelopes, spindle travel, conveyor pinch points, rotating shafts, part ejection zones, and any area that can become hazardous during fault conditions or maintenance.
Once the hazard is fixed on the drawing, you can work outward to the guard line. That sequence is important because a fence that fits the room may still fail if the danger point is too close to the barrier. The goal is not just to enclose the machine; it is to prevent human access to the actual hazard.
Read the standard as a reach-and-distance problem
Reach-through
For reach-through, the key variables are opening size and the distance from the opening to the hazard. If the hazard sits close behind the panel, the panel opening usually has to be smaller or the fence has to move farther away. If the hazard is farther back, the same opening may be acceptable. That is why you should never specify mesh size without also checking the setback.
Common mistake: using the same mesh panel everywhere on a line and assuming every opening is safe because the panel is “approved.” The hazard distance may vary from one side of the cell to another, especially at corners, narrow machine ends, and service access points.
Reach-over
For reach-over, the fence height has to be checked against the real standing condition on the plant floor. A worker standing on the floor has one reach envelope; a worker standing on a pallet, cart deck, machine base, or nearby platform has another. If someone can stand higher, the effective safety distance changes immediately.
Common mistake: measuring fence height from the slab and ignoring nearby surfaces that raise the person’s reach. That can make an otherwise decent layout fail at one side of the perimeter.
Reach-under
For reach-under, look at the bottom clearance and the hazard depth behind the fence. A low opening may be acceptable on paper, but if the machine hazard is shallow and close to the perimeter, the clearance becomes a practical access path. Uneven concrete, drainage channels, and removable floor plates can make this worse.
Common mistake: leaving extra bottom clearance so the panels install easily, then discovering that the gap creates a hand or foot access path at the finished installation.
A practical workflow for fence layout
- Identify every hazardous part, including travel limits, pinch points, and ejection zones.
- Define who can approach the perimeter and from which sides.
- Map standing surfaces, steps, platforms, pallets, mezzanines, and adjacent equipment that change reach height.
- Check every opening, gap, and panel joint for reach-through, reach-over, and reach-under conditions.
- Set the fence line, height, and opening size against the current ISO 13857 edition.
- Place gates where access is needed and confirm that the opening is controlled by the right interlock strategy.
- Review corners, overlaps, and service cutouts for alternate reach paths.
- Document the risk assessment and release the final layout only after the dimensions are verified.
If you want a layout review before fabrication, our engineering team can review your machine layout and safety distances and return a 2D or 3D guarding layout before you order.
Where fence panels create problems in the real world
Panel-to-panel joints
Even a well-designed fence can fail at the joints if posts are misplaced or the slab is uneven. Small gaps at corners, end returns, and panel overlaps can create unintended access paths. This is why the panel widths, post spacing, and installation tolerances have to be planned together, not treated as separate tasks.
Cable and hose pass-throughs
Field cutouts are one of the most common ways a perimeter loses integrity. The first reaction is often to make a hole wherever the cable needs to go, but every added opening must be checked as part of the guarding system. A better approach is to route services overhead, through protected channels, or through preplanned access points that preserve the barrier function.
Wide gates and material transfer points
Large openings are often unavoidable for pallets, carts, or fixtures. The design problem is to keep the opening large enough for production while still controlling access. Wide gates need more than hinges and latch hardware; they need the right distance to the hazard, the right interlock strategy, and a layout that prevents a person from entering the zone while the machine can still move.
This is especially important in applications like palletizing, welding, conveyor transfers, CNC tending, and warehouse automation. If you are working in one of those environments, our machine guarding solutions for robot cells, palletizing, welding, conveyors, packaging, CNC machine tools and material handling show how the layout changes by application.
Low-profile machines and conveyor openings
Conveyors and low machines often create the hardest under-guard decisions because the hazard sits near floor level. In those layouts, the bottom gap and the distance to moving parts are closely linked. A barrier that looks adequate from above may still allow reach-under access at the infeed, outfeed, or transfer point.
Worked examples
Example 1: robot cell with a maintenance gate near a corner
A robot cell may have a safe perimeter on three sides but a problematic access point near one corner. The gate itself may be interlocked, yet a nearby panel overlap or short return can create a reach path around the frame. In that case, the fix is not always a taller fence. It may be a longer return, a shifted gate location, or a larger setback from the robot envelope.
Example 2: conveyor line with a low fence
A conveyor guard is often installed close to the line to save floor space. That can be acceptable only if the reach path through or under the fence is controlled. If the conveyor carries product at low height, the barrier may need a different panel type, a tighter opening, or a greater setback so operators cannot reach the moving surface while standing outside the perimeter.
Example 3: palletizing cell with a wide load opening
Palletizing systems often need a large opening for material flow. That opening can be safe only if the access side is engineered around the actual loading method. If forklifts, pallet jacks, or operators need to approach the opening, the design must prevent human access to the hazard while the opening is in use. This usually means a combination of distance, controlled access, and the right gate or transfer strategy.
Fence opening and reach review checklist
| Guard feature | Reach path | What to measure | Common failure mode | Design action |
|---|---|---|---|---|
| Wire mesh panel | Reach-through | Opening size and distance to the hazard | Mesh too close to the moving part | Increase setback or reduce opening size |
| Fence top edge | Reach-over | Fence height and nearby standing surfaces | Platform or pallet increases reach | Raise the fence or move the hazard farther back |
| Bottom gap | Reach-under | Clearance from floor to panel and depth of the hazard | Excess gap left for installation convenience | Reduce clearance or add a toe/foot barrier where needed |
| Corner or overlap | Multiple reach paths | Joint alignment and return length | Gap opens at the corner or end post | Use a longer return or adjust the post layout |
| Gate opening | Full-body access | Gate location, interlock, and setback | Gate too close to the hazard | Move the gate, extend the approach distance, or add guard locking |
Checklist before you release a guarding layout
- Hazards are marked on the layout, not just assumed from the machine footprint.
- All standing surfaces that change reach height have been identified.
- The fence height has been checked for reach-over conditions.
- Every opening has been reviewed for reach-through conditions.
- The bottom gap has been checked for reach-under access.
- Corner joints, overlaps, and end returns have been inspected for alternate access paths.
- Gate openings are controlled by the right interlock or access strategy.
- Service cutouts and cable pass-throughs have been reviewed as part of the safety design.
- The current edition of ISO 13857 has been checked before release.
- The risk assessment has been documented by a qualified person.
Conclusion
Applying ISO 13857 safety distance well means translating a standard into a buildable layout. If you measure the hazard first, then verify reach-through, reach-over, and reach-under paths at every side of the fence, you can avoid most of the layout mistakes that show up after fabrication starts.
For U.S. plant projects, ZYD Technology can review your drawing, CAD file, or basic dimensions and return a guarding layout before you order. If you are specifying panels, gates, or a complete perimeter, request a machine guarding quote and send the layout for review.